Monday, February 7, 2011

Let There Be Light!

We finally did it!  We updated our kitchen lights from the old paneled lighting to recessed.  We also have a pendant over our dining room table!  As much as we love the blue glow from the fish tank, we really needed more lighting.

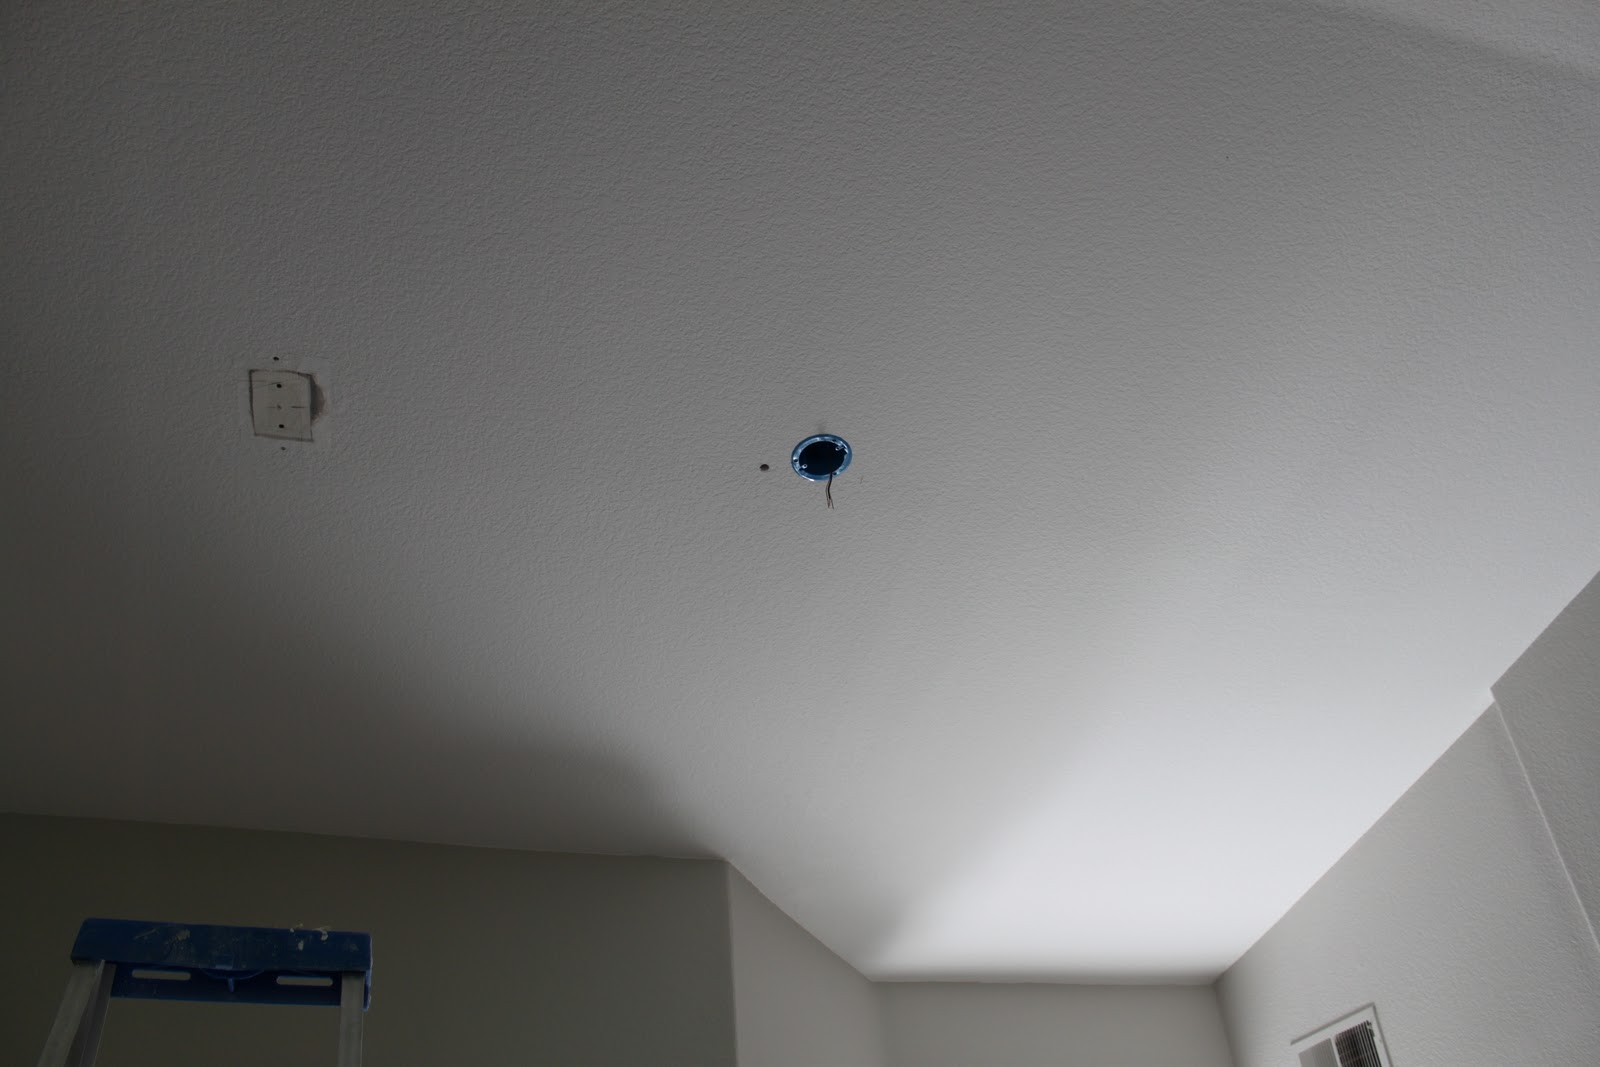
Here are the before photos:

We taped out the dining room table on the floor 
so we knew where the center would be.

Here are the "during" photos:

And the final product:

The updated lighting has made all the difference to our condo.  I've actually been dreaming of that pendant for about 9 months now.  We purchased it at IKEA (of course) and we used THIS COMPANY to do our lighting.  The process is dustless and they did everything in about 4 hours.  


Saturday, January 29, 2011

Oh Happy Day!...

Since moving into our condo over a year ago, we knew our kitchen faucet had water pressure issues.  We weren't sure what the source of the problem was, but I finally had enough, AND, the faucet was downright ugly.

Luckily, over Christmas we won a $25 gift card to The Home Depot in the family White Elephant gift exchange!  We decided to put it towards a shiny, new faucet.  Before I get to the details, here's a look at the original freaking ugly kitchen faucet.


I was on an online mission to find the perfect faucet on The Home Depot website and we opted for the Glacier Bay Series 400.  The faucet is tall and dramatic and I love every inch of it!  Thanks to my lovely husband for installing it in record time and to our delight, our water pressure issues are gone.  We laughed and asked ourselves why we didn't change it a year ago!  Here it is!


Sunday, October 10, 2010

1 Year Anniversary Camping Trip...

For our 1 year anniversary we decided to go camping in Big Bear, California.  For the past month we've been preparing for our trip and we were so excited it was finally here!  Here are a few pictures of our adventure...  PS - Morgan stayed home with his grandparents.
Bike ride to Big Bear Lake

 Our Campsite
 Our AMAZING Honda Element!
 Campfire

 On our way home


Thursday, September 23, 2010

Crafty Cake Stands...

After reading how easy it is to make cake stands on a few other crafty blogs, I had to try making them for myself.  I recruited my mom who is an avid antique shopper and she found great deals on gorgeous antique plates!    I also made a trip to Pier 1 to find cheap candleholders.

What you'll need:  plates (any plates will work with a flat bottom), candle holders, liquid nail (clear drying and can be used on glass or ceramic), Q-tips and a damp cloth.

The process below took about 5 minutes per plate.

First - Clean your plates and candleholders...
Find the center and place a small beaded line of liquid nail on candleholder...  stick to plate!
Wipe the excess glue that squeezes out with a damp Q-tip.
 Place upside down with a small amount of weight for added pressure (I used small dessert plates)
 Done!